Introduction
About Tiled
Tiled is a 2D level editor that helps you develop the content of your game. Its primary feature is to edit tile maps of various forms, but it also supports free image placement as well as powerful ways to annotate your level with extra information used by the game. Tiled focuses on general flexibility while trying to stay intuitive.
In terms of tile maps, it supports straight rectangular tile layers, but also projected isometric, staggered isometric, staggered hexagonal and oblique layers. A tileset can be either a single image containing many tiles, or it can be a collection of individual images. In order to support certain depth faking techniques, tiles and layers can be offset by a custom distance and their rendering order can be configured.
The primary tool for editing tile layers is a stamp brush that allows efficient painting and copying of tile areas. It also supports drawing lines and circles. In addition, there are several selection tools and a tool that does automatic terrain transitions. Finally, it can apply changes based on pattern-matching to automate parts of your work.
Tiled also supports object layers, which traditionally were only for annotating your map with information but more recently they can also be used to place images. You can add rectangle, point, ellipse, polygon, polyline and tile objects. Object placement is not limited to the tile grid and objects can also be scaled or rotated. Object layers offer a lot of flexibility to add almost any information to your level that your game needs.
Other things worth mentioning are the support for adding custom map or tileset formats through plugins, extending Tiled with JavaScript, the tile stamp memory, tile animation support and the tile collision editor.
Getting Started
Setting up a New Project
When launching Tiled for the first time, we are greeted with the following window:
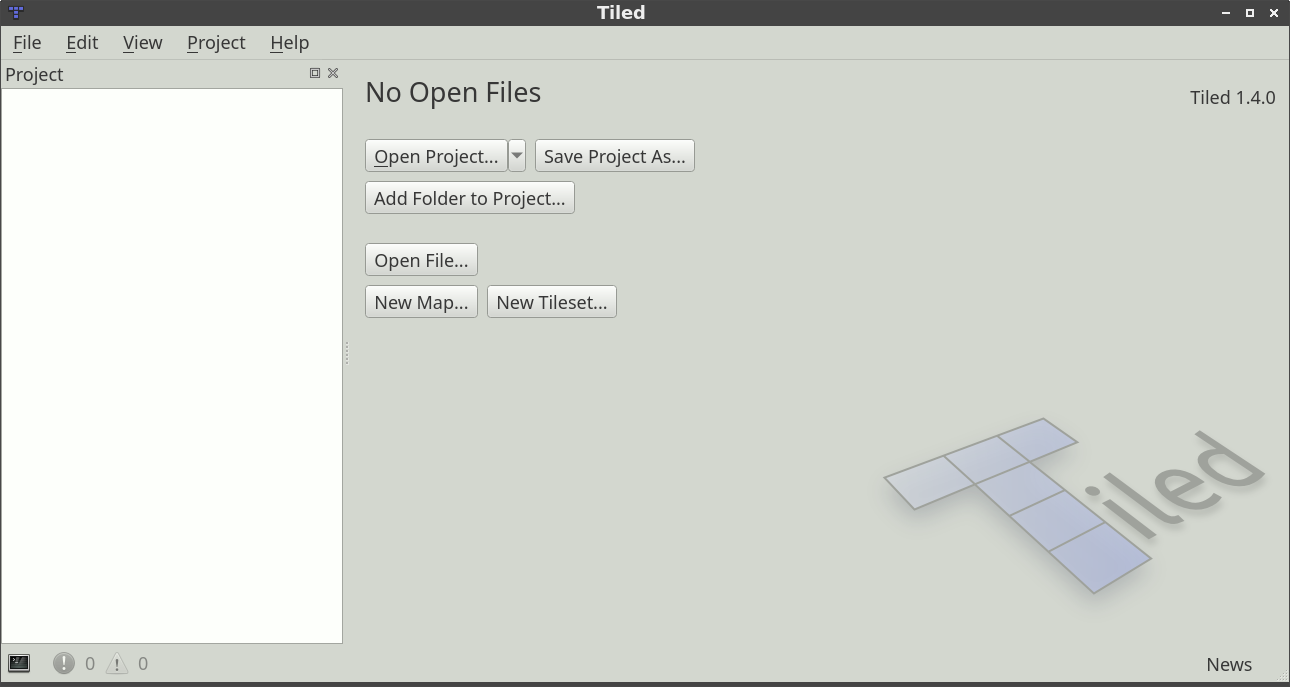
Tiled Window
To make all our assets readily accessible from the Project view, as well as to be able to quickly switch between multiple projects, it is recommended to first set up a Tiled project. This is however an entirely optional step that can be skipped when desired.
Choose File -> New -> New Project… to create a new project file. It is recommended to save this file in the root of your project. The directory in which you store the project will be automatically added, so that its files are visible in the Project view.
When necessary, you can add additional folders to the project or replace the one added by default. For example, you could choose to add several top-level folders like “tilesets”, “maps”, “templates”, etc. Right-click in the Project view and choose Add Folder to Project… to add the relevant folders.
Hint
You can press Ctrl+Shift+P to open the action search widget,
which can provide a faster way to get to actions than looking for them in
the menus!
Creating a New Map
To create a new map, choose File -> New -> New Map… (Ctrl+N). The
following dialog will pop up:
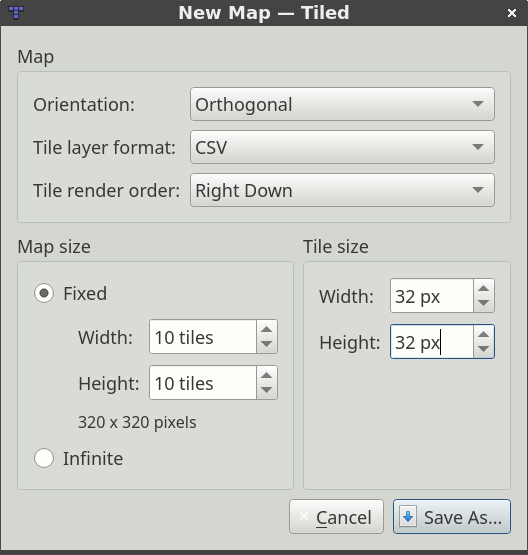
New Map
Here, we choose the initial map size, tile size, orientation, tile layer format, tile render order (only supported for Orthogonal and Oblique maps) and whether the map is infinite or not. For more details on map orientations and related options, see maps. All of these things can be changed later as needed, so it’s not important to get it all right the first time.
Note
If you set up a project, make sure to save the map to a folder that you had
added to your project. This will make it quickly accessible using File ->
Open File in Project (Ctrl+P).
After saving our map, we’ll see the tile grid and an initial tile layer will be added to the map. However, before we can start using any tiles we need to add a tileset. Choose File -> New -> New Tileset… to open the New Tileset dialog:
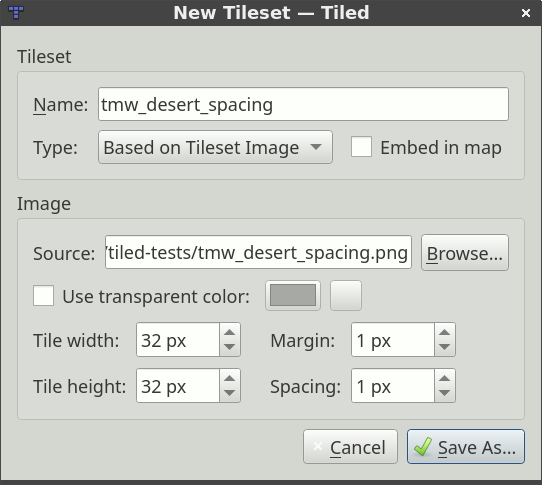
New Tileset
Click the Browse… button and select the tmw_desert_spacing.png
tileset from the examples shipping with Tiled (or use one of your own if
you wish). This example tileset uses a tile size of 32x32. It also has a
one pixel margin around the tiles and a one pixel spacing in between
the tiles (this is pretty rare actually, usually you should leave these
values on 0).
Note
We leave the Embed in map option disabled. This is recommended, since it will allow the tileset to be used by multiple maps without setting up its parameters again. It will also be good to store the tileset in its own file if you later add tile properties, terrain definitions, collision shapes, etc., since that information is then shared between all your maps.
After saving the tileset, Tiled should look as follows:
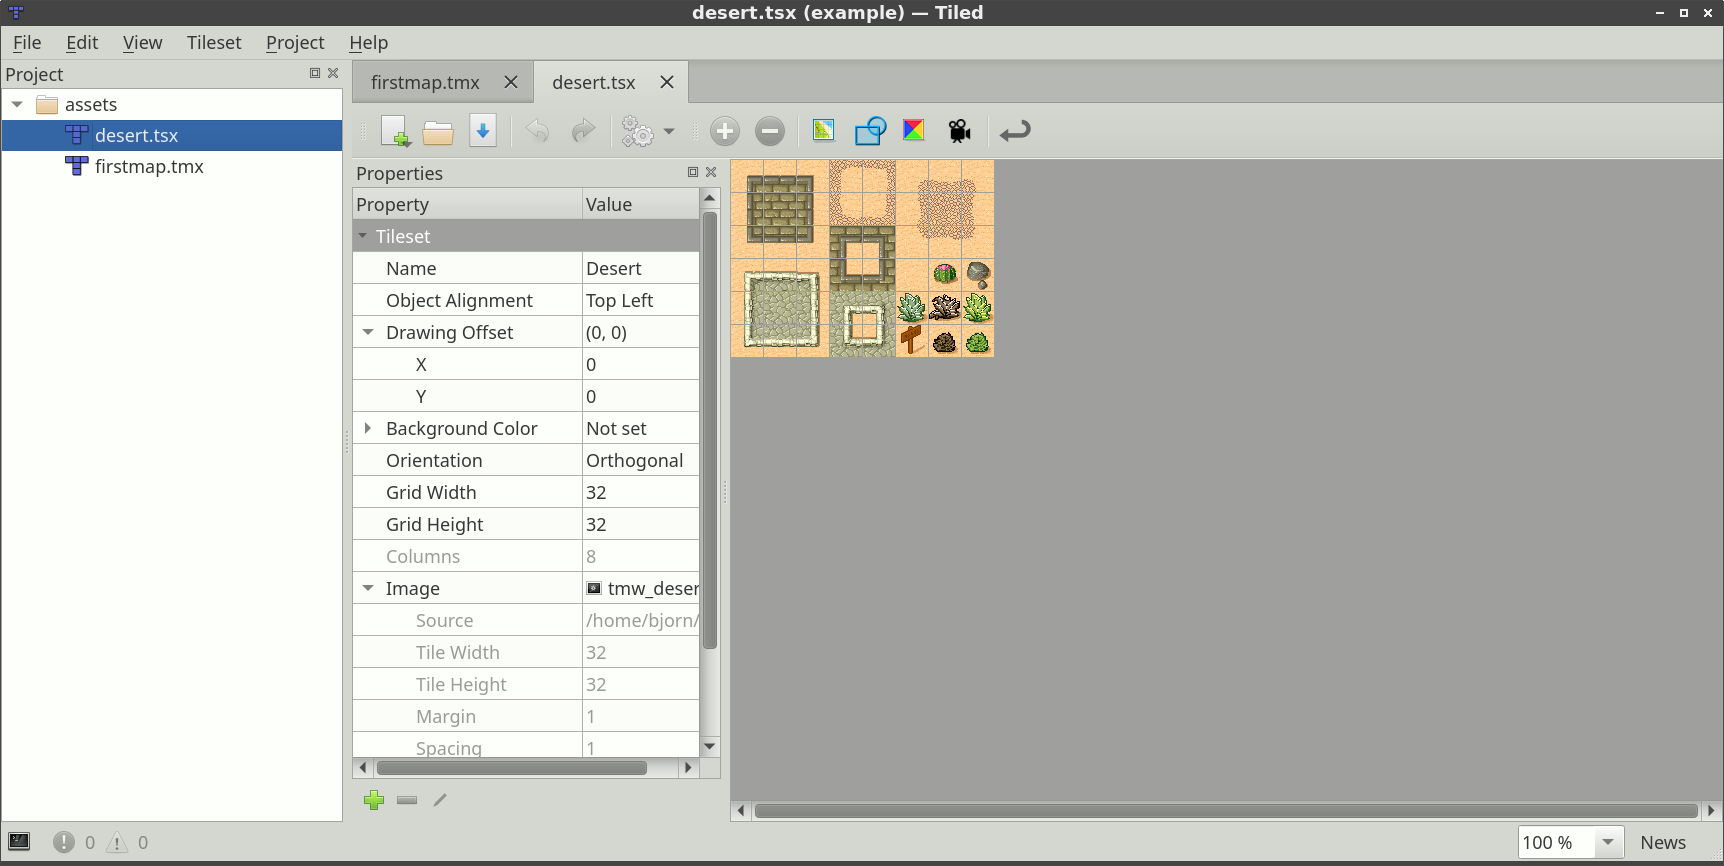
Tileset Created
Since we don’t want to do anything else with the tileset for now, just switch back to the map file:

Tileset Usable on the Map
We’re ready to select some tiles and start painting! But first, let’s have a quick look at the various layer types supported by Tiled.
Note
Much of the manual still needs to be written. Fortunately, there is a very nice Tiled Map Editor Tutorial Series on GamesFromScratch.com. In addition, the support for Tiled in various engines and frameworks often comes with some usage information.