Working with Layers
A Tiled map supports various sorts of content, and this content is organized into various different layers. The most common layers are the Tile Layer and the Object Layer. There is also an Image Layer for including simple foreground or background graphics. The order of the layers determines the rendering order of your content.
Layers can be hidden, made only partially visible and can be locked. Layers also have an offset and a parallax scrolling factor, which can be used to position them independently of each other, for example to fake depth. Finally their contents can be tinted by multiplying with a custom tint color.
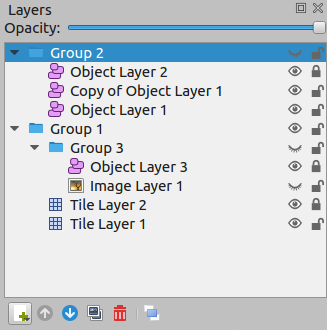
The eye and lock icon toggle the visibility and locked state of a layer respectively.
You use Group Layers to organize the layers into a hierarchy. This makes it more comfortable to work with a large amount of layers.
Layer Types
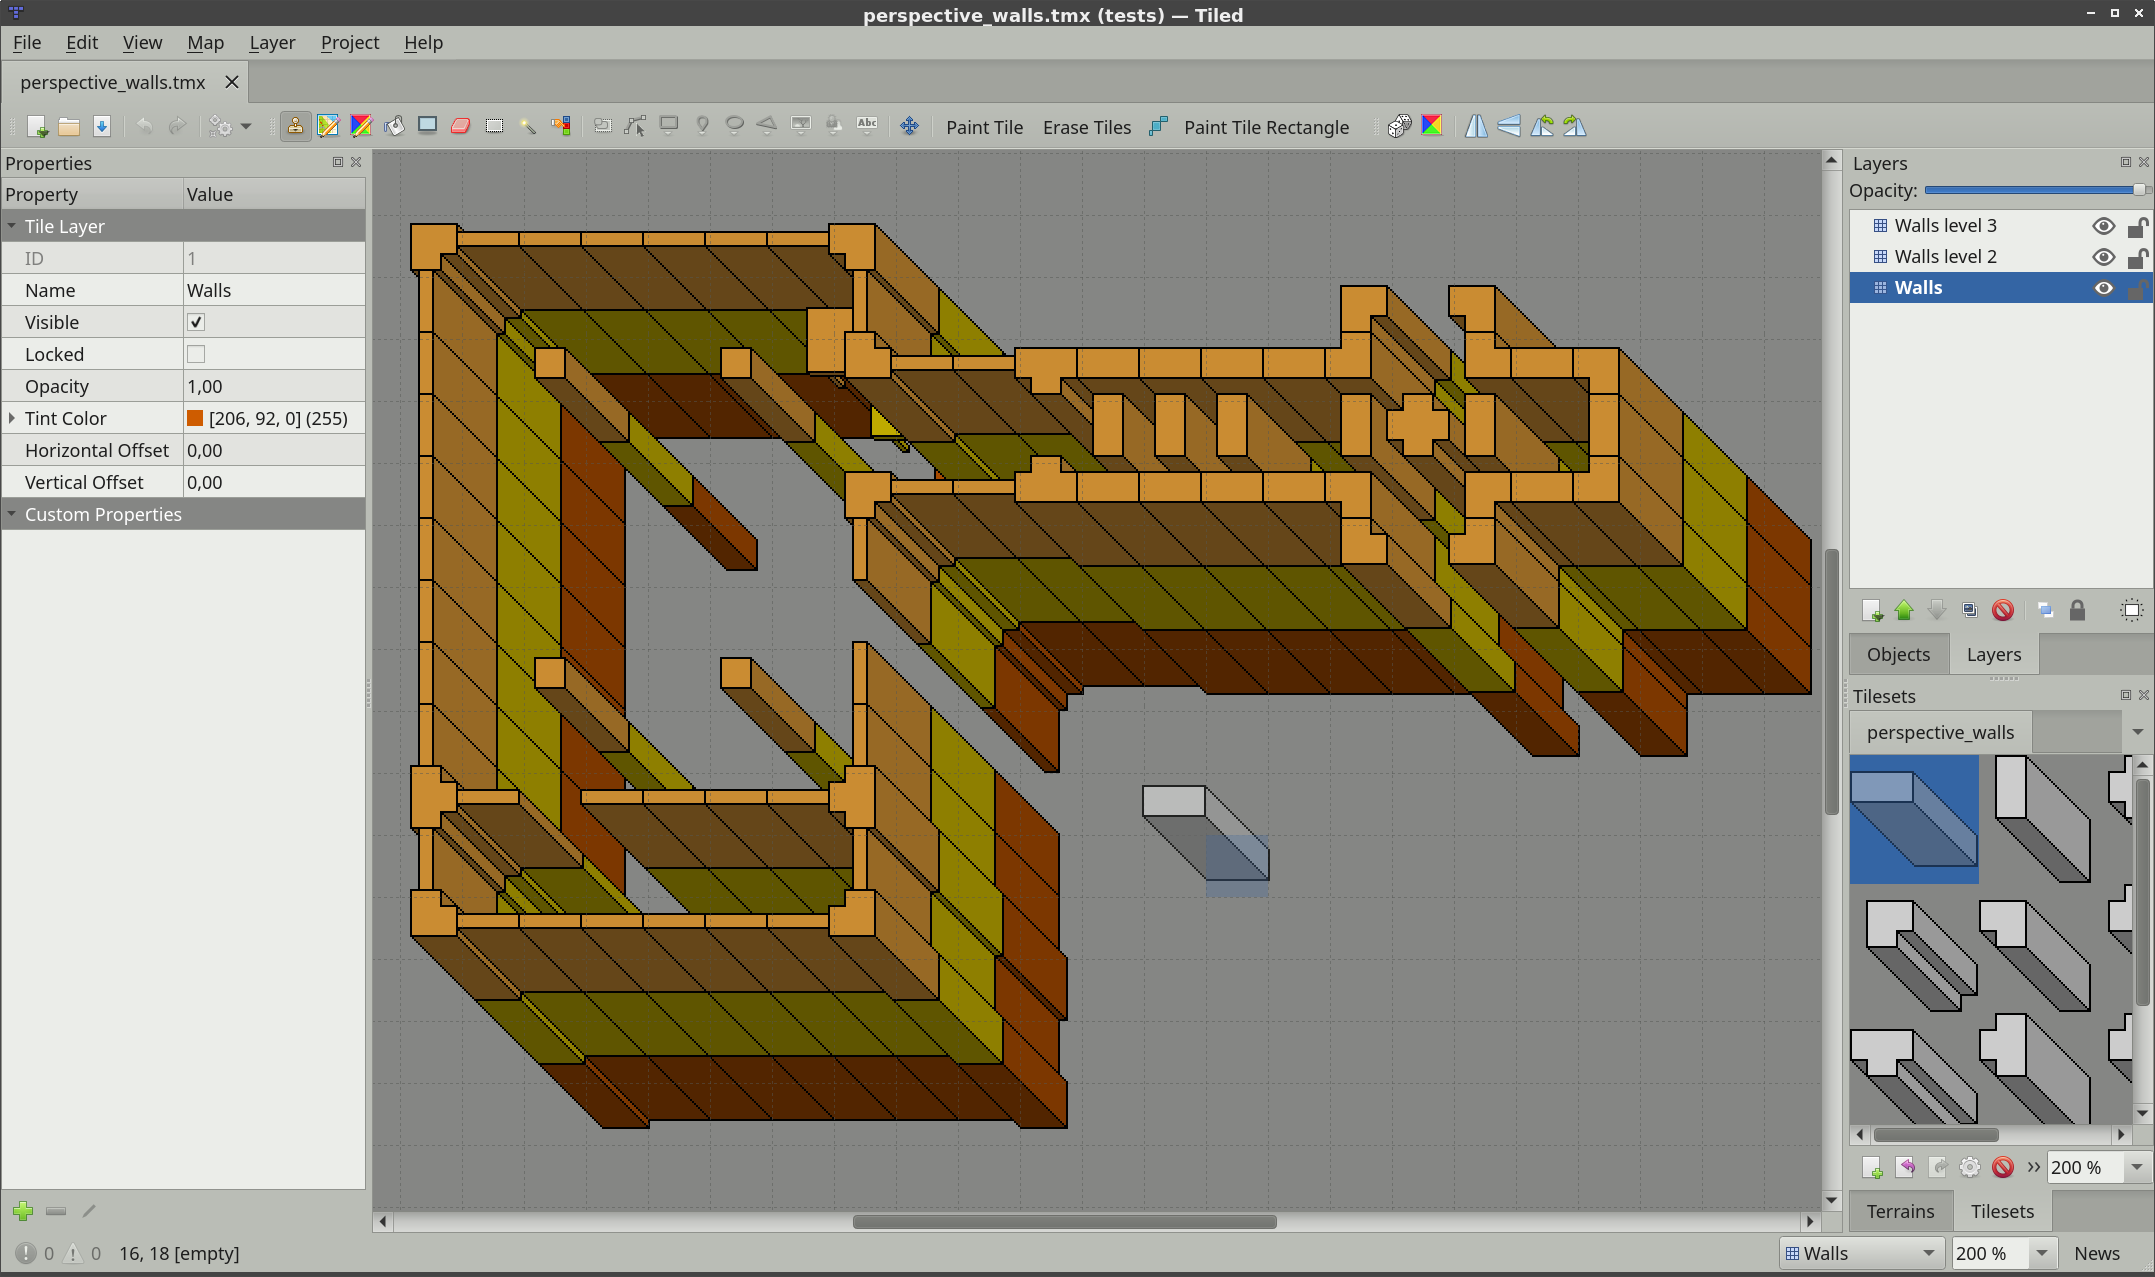
Tile Layers
Tile layers provide an efficient way of storing a large area filled with tile data. The data is a simple array of tile references and as such no additional information can be stored for each location. The only extra information stored are a few flags, that allow tile graphics to be flipped vertically, horizontally or anti-diagonally (to support rotation in 90-degree increments).
The information needed to render each tile layer is stored with the map, which specifies the position and rendering order of the tiles based on the orientation and various other properties.
Despite only being able to refer to tiles, tile layers can also be useful for defining various bits of non-graphical information in your level. Collision information can often be conveyed using a special tileset, and any kind of object that does not need custom properties and is always aligned to the grid can also be placed on a tile layer.
Object Layers
Object layers are useful because they can store many kinds of information that would not fit in a tile layer. Objects can be freely positioned, resized and rotated. They can also have individual custom properties. There are many kinds of objects:
Rectangle - for marking custom rectangular areas
Ellipse - for marking custom ellipse or circular areas
Point - for marking exact locations (since Tiled 1.1)
Polygon - for when a rectangle or ellipse doesn’t cut it (often a collision area)
Polyline - can be a path to follow or a wall to collide with
Tile - for freely placing, scaling and rotating your tile graphics
Text - for custom text or notes (since Tiled 1.0)
All objects can be named, in which case their name will show up in a label above them (by default only for selected objects). Objects can also be given a class, which is useful since it can be used to customize the color of their label and the available custom properties for this object. For tile objects, the class can be inherited from their tile.
For most map types, objects are positioned in plain pixels. The only exception to this are isometric maps (not isometric staggered). For isometric maps, it was deemed useful to store their positions in a projected coordinate space. For this, the isometric tiles are assumed to represent projected squares with both sides equal to the tile height. If you’re using a different coordinate space for objects in your isometric game, you’ll need to convert these coordinates accordingly.
The object width and height is also mostly stored in pixels. For isometric maps, all shape objects (rectangle, point, ellipse, polygon and polyline) are projected into the same coordinate space described above. This is based on the assumption that these objects are generally used to mark areas on the map.
Image Layers
Image layers provide a way to quickly include a single image as foreground or background of your map. They currently have limited functionality and you may consider adding the image as a Tileset instead and place it as a Tile Object. This way, you gain the ability to freely scale and rotate the image.
However, image layers can be repeated along the respective axes through their Repeat X and Repeat Y properties.
The other advantage of using an image layer is that it avoids selecting / dragging the image while using the Select Objects tool. However, since Tiled 1.1 this can also be achieved by locking the object layer containing the tile object you’d like to avoid interacting with.
Group Layers
Group layers work like folders and can be used for organizing the layers into a hierarchy. This is mainly useful when your map contains a large amount of layers.
The visibility, opacity, offset, lock and tint color of a group layer affects all child layers.
Layers can be easily dragged in and out of groups with the mouse. The Raise Layer / Lower Layer actions also allow moving layers in and out of groups.
Parallax Scrolling Factor
The parallax scrolling factor determines the amount by which the layer moves in relation to the camera.
By default its value is 1, which means its position on the screen changes at the same rate as the position of the camera (in opposite direction). A lower value makes it move slower, simulating a layer that is further away, whereas a higher value makes it move faster, simulating a layer positioned in between the screen and the camera.
A value of 0 makes the layer not move at all, which can be useful to include some pieces of your ingame UI or to mark its general viewport boundaries.
Negative values make the layer move in opposite direction, though this is rarely useful.
When the parallax scrolling factor is set on a group layer, it applies to all its child layers. The effective parallax scrolling factor of a layer is determined by multiplying the parallax scrolling factor by the scrolling factors of all parent layers.
Parallax Reference Point
To match not only the scrolling speed but also the positioning of layers, we need to use the same points of reference. In Tiled these are the parallax origin and the center of the view. The parallax origin is stored per map and defaults to (0,0), which is the top-left of the maps bounding box. The distance between these two points is multiplied by the parallax factor to determine the final position on the screen for each layer. For example:
If the parallax origin is in the center of the view, the distance is (0,0) and none of the parallax factors have any effect. The layers are rendered where they would have been, if parallax was disabled.
Now, when the map is scrolled right by 10 pixels, the distance between the parallax origin and the center of the view is 10. So a layer with a parallax factor of 0.7 will have moved just
0.7 * 10 = 7pixels.
Quite often, a viewport transform is used to scroll the entire map. In this
case, one may need to adjust the position of each layer to take its parallax
factor into account. Instead of multiplying the distance with the parallax
factor directly, we now multiply by 1 - parallaxFactor to get the layer
position. For example:
When the camera moves right by 10 pixels, the layer will have moved 10 pixels to the left (-10), so by positioning the layer at
10 * (1 - 0.7) = 3, we’re making sure that it only moves 7 pixels to the left.
Tinting Layers
When you set the Tint Color property of a layer, this affects the way images are rendered. This includes tiles, tile objects and the image of an Image Layer.
Each pixel color value is multiplied by the tint color. This way you can darken or colorize your graphics in various ways without needing to set up separate images for it.
A gray tileset rendered in a different color for each layer.
The tint color can also be set on a Group Layer, in which case it is inherited by all layers in the group.
Blend Modes
Tiled provides support for several common blend modes (also called compositing operators) for layers. These modes allow you to modify the appearance of a layer by blending it with the layers beneath it in various ways. By default, layers in Tiled use the Normal blend mode.
Below is the full list of blend modes available in Tiled, along with links to their equivalents in the SVG Compositing Specification, where you can see examples and calculation details.
Mode |
SVG equivalent |
|---|---|
Normal |
|
Add |
|
Multiply |
|
Screen |
|
Overlay |
|
Darken |
|
Lighten |
|
Color Dodge |
|
Color Burn |
|
Hard Light |
|
Soft Light |
|
Difference |
|
Exclusion |
In OpenGL, these blend modes can be implemented using glBlendEquation with
values from the KHR_blend_equation_advanced
extension. In Vulkan, they are part of the VK_EXT_blend_operation_advanced
extension.